[IntelliJ] Intellj에서 Tomcat 설정(Spring Web Project)
다들 스프링부트를 사용하겠지만, Spring Web Project에 tomcat 설정하는 포스팅이다.
앞에 Spring Web Project 생성 단계는 생략
스프링 프로젝트 Tomcat 설정하기
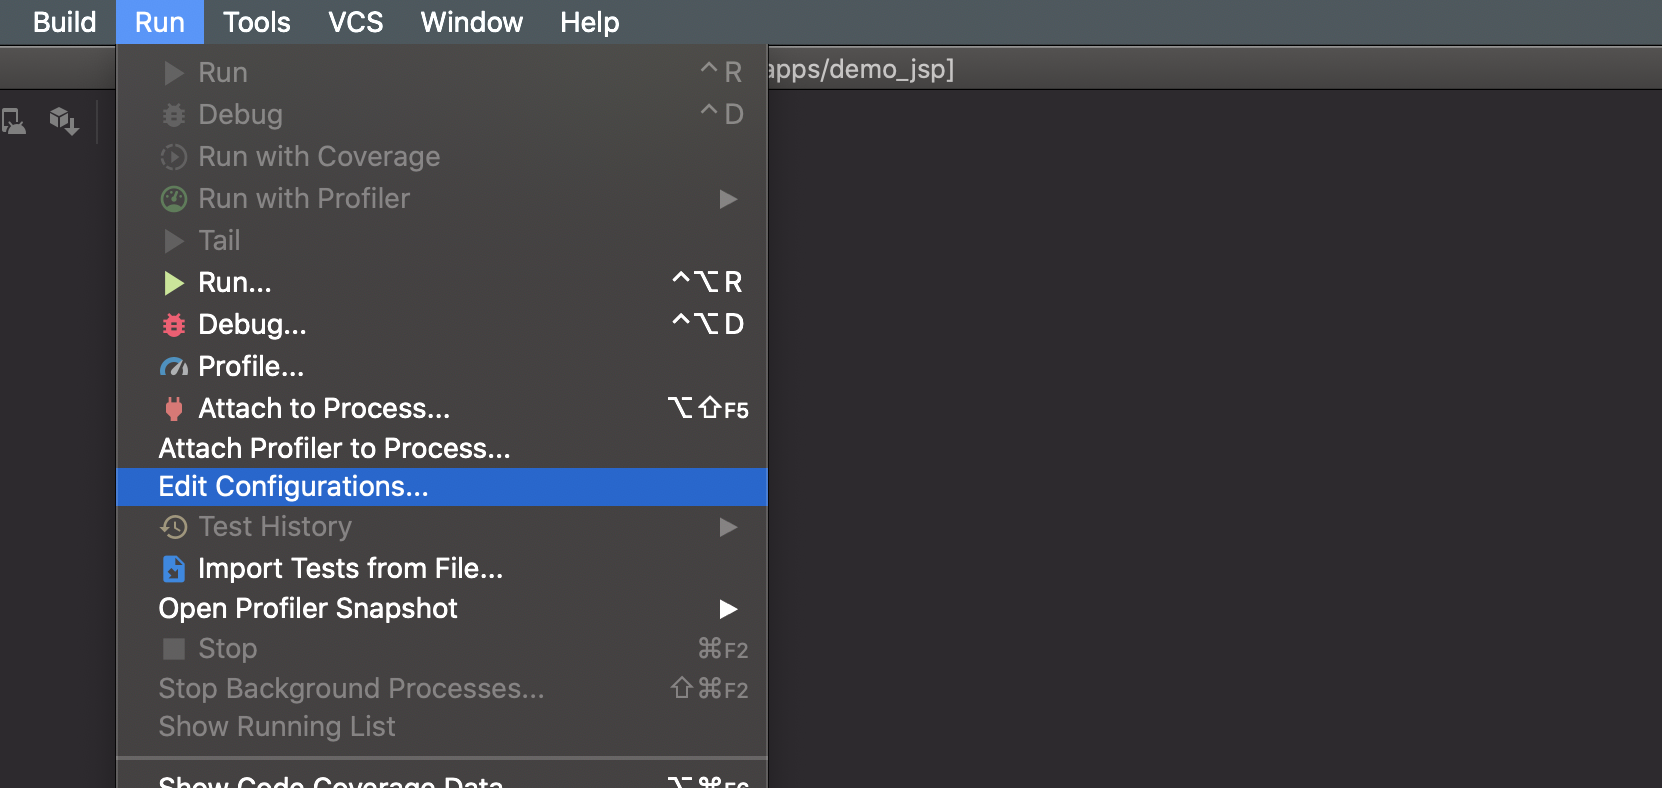
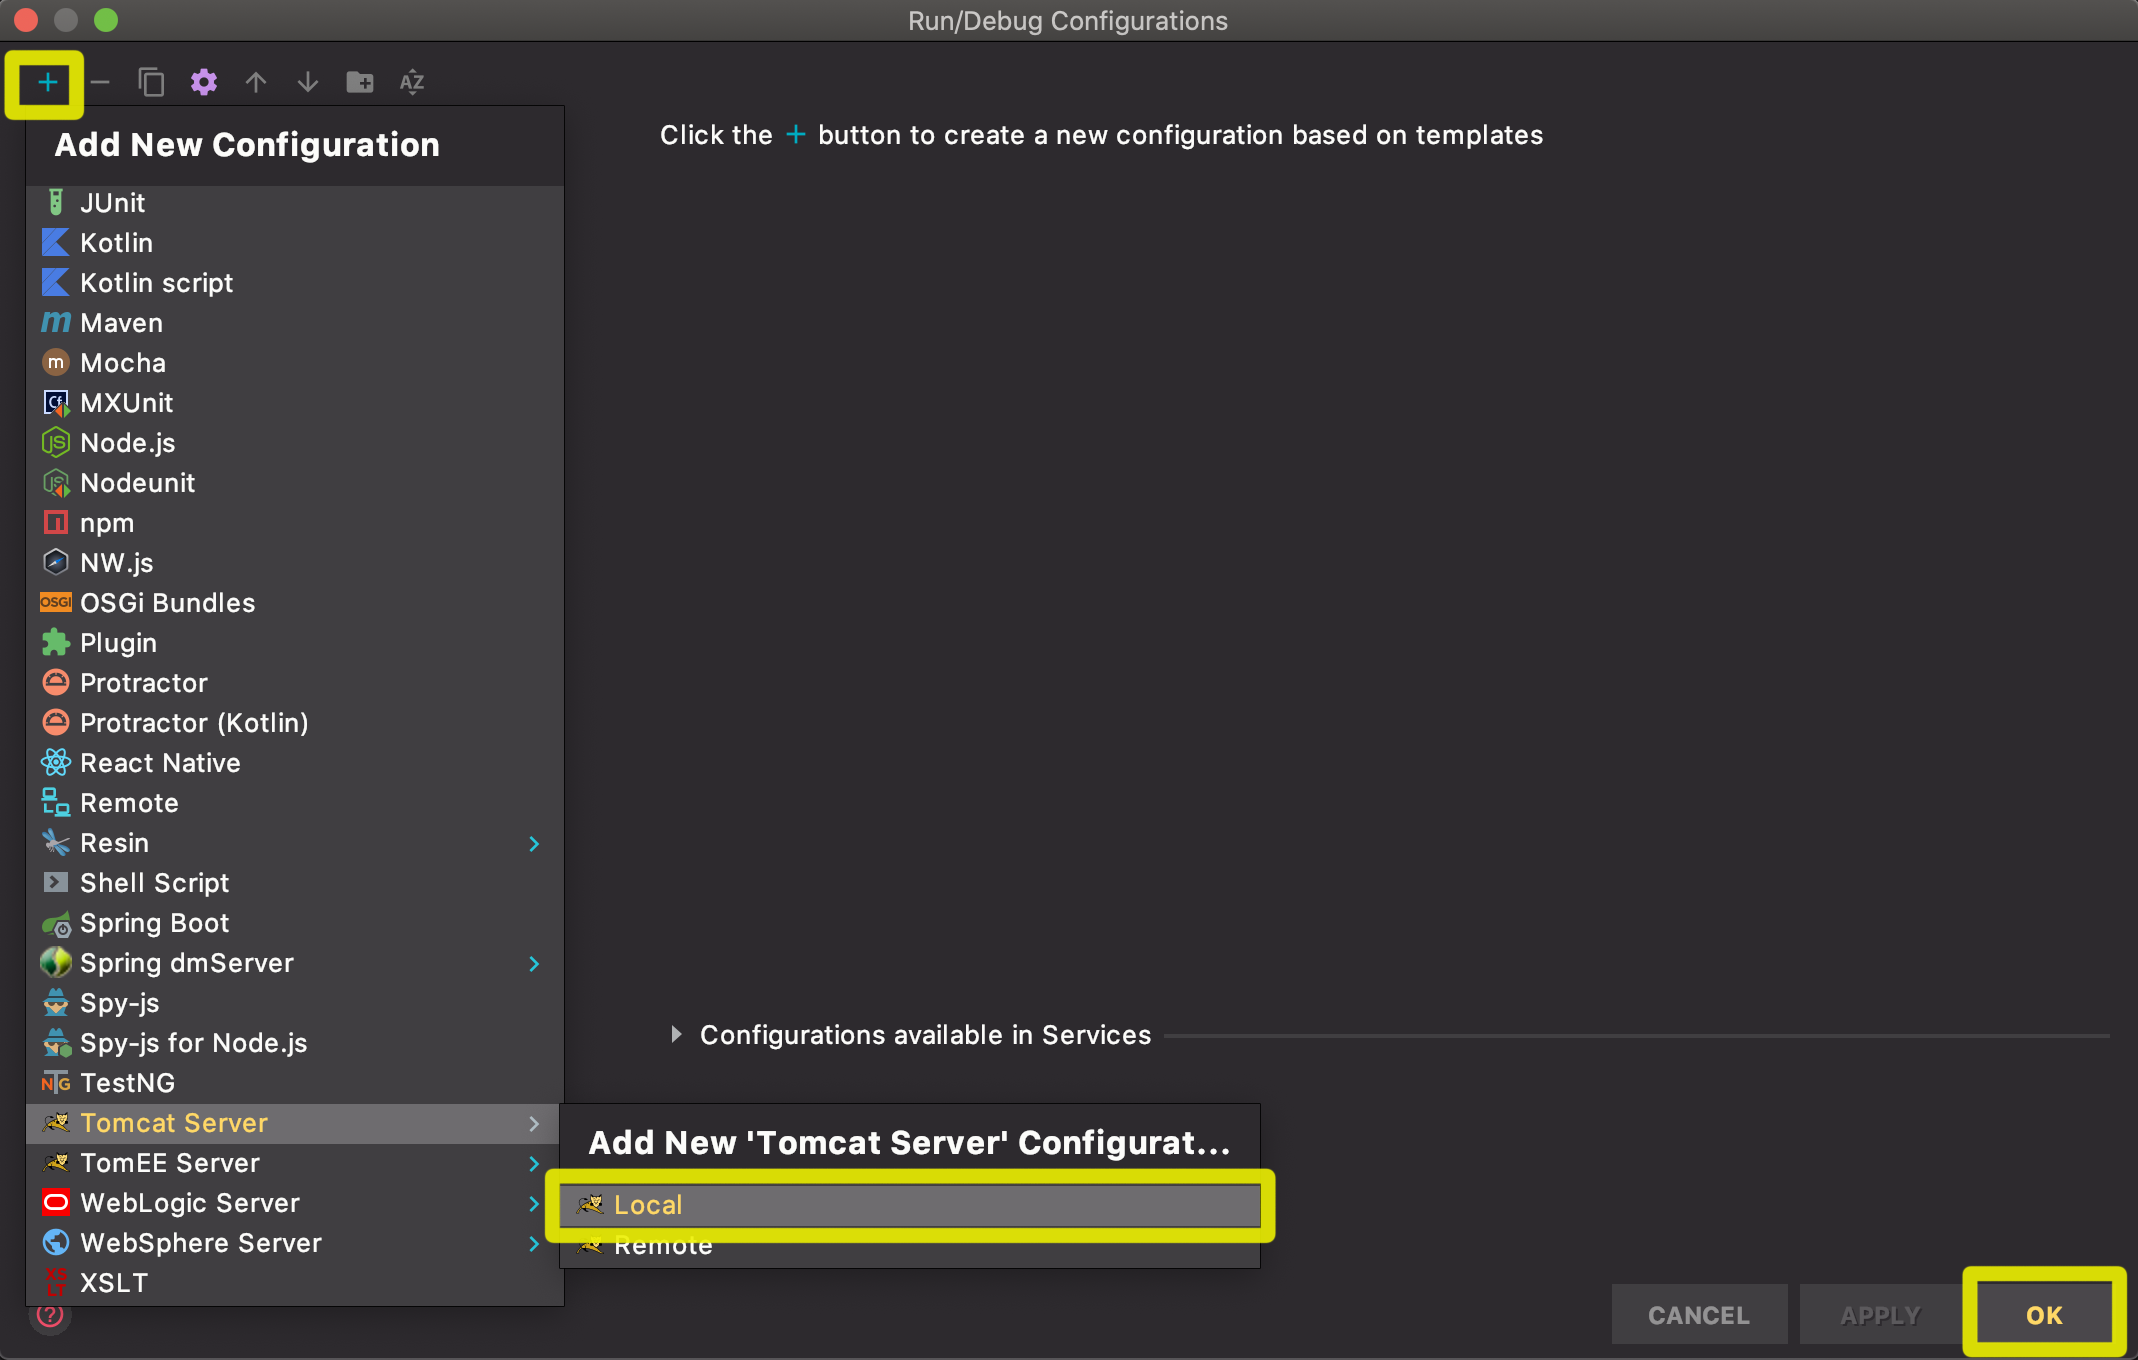
1. Run > EditConfigurations…
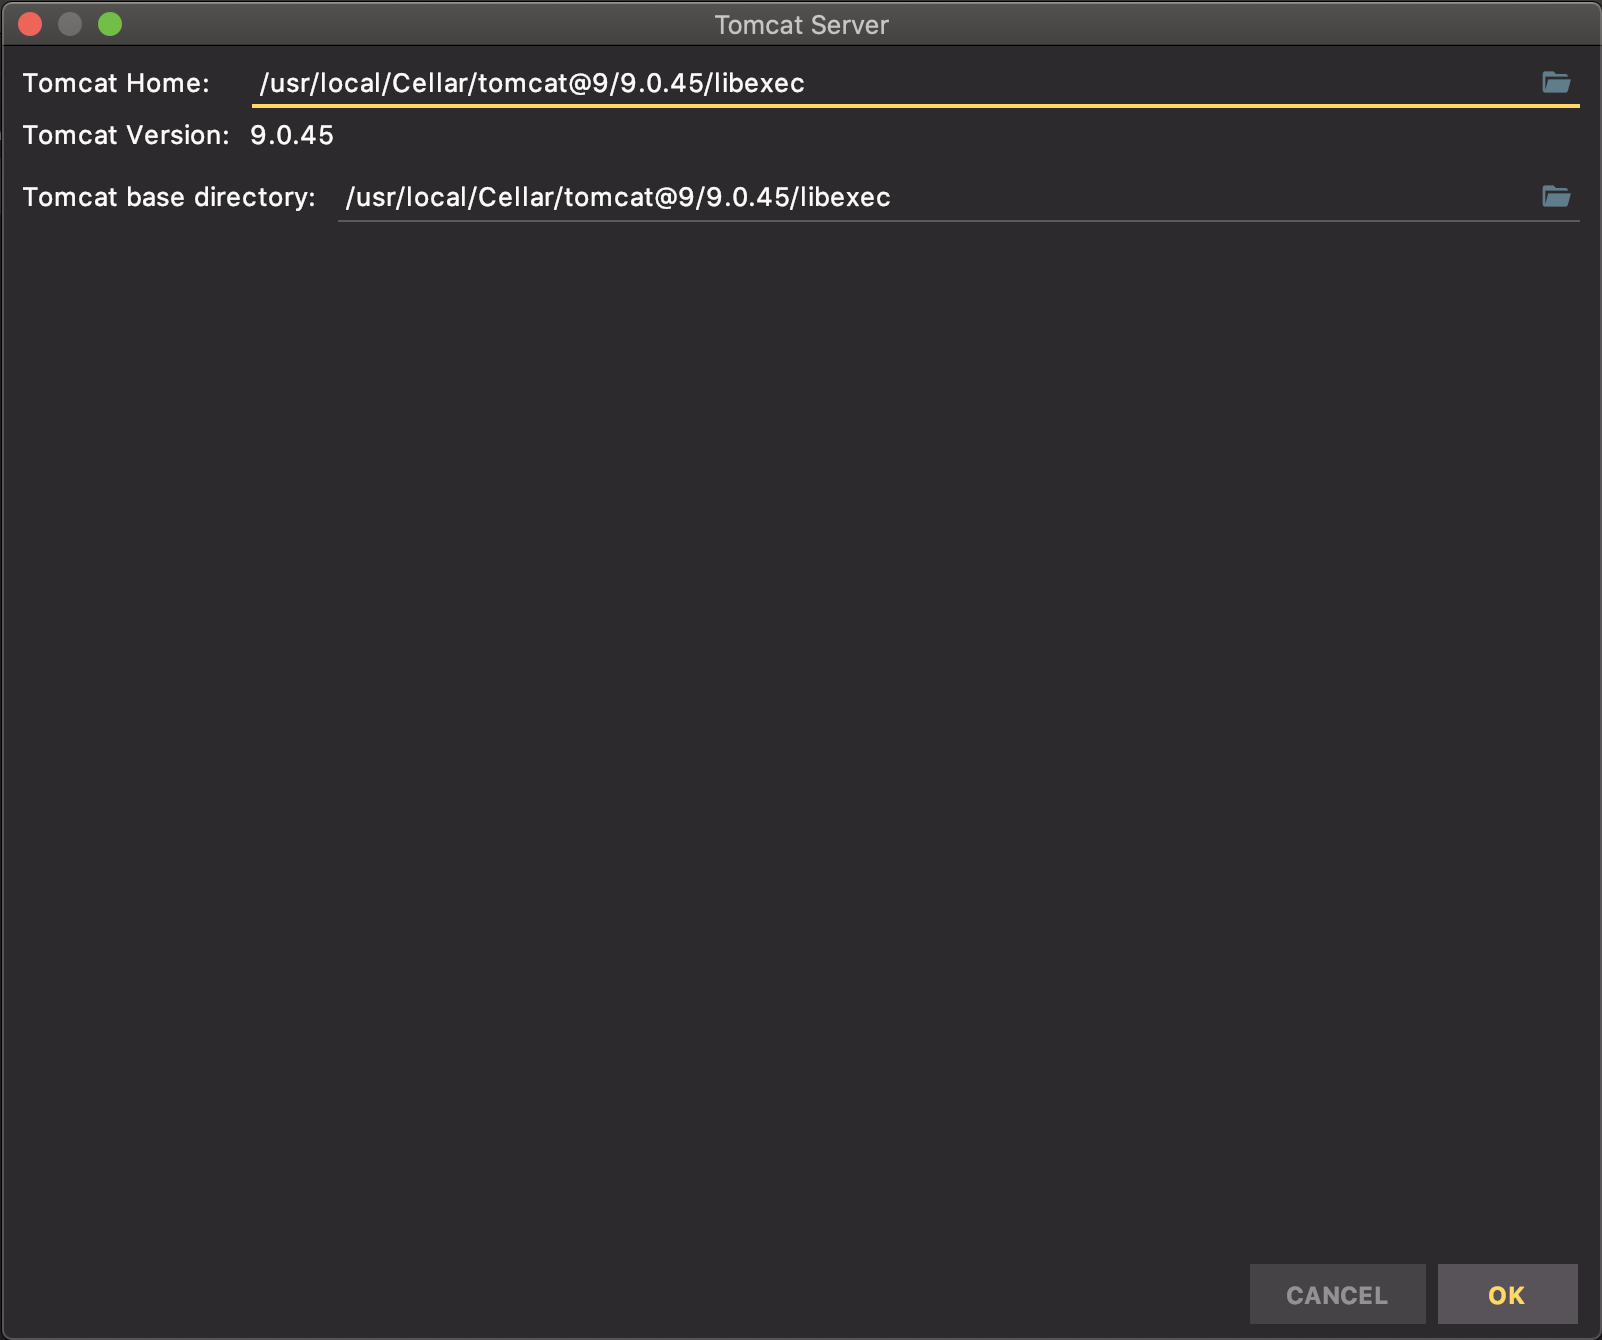
2. 본인의 톰캣이 설치된 디렉토리를 선택
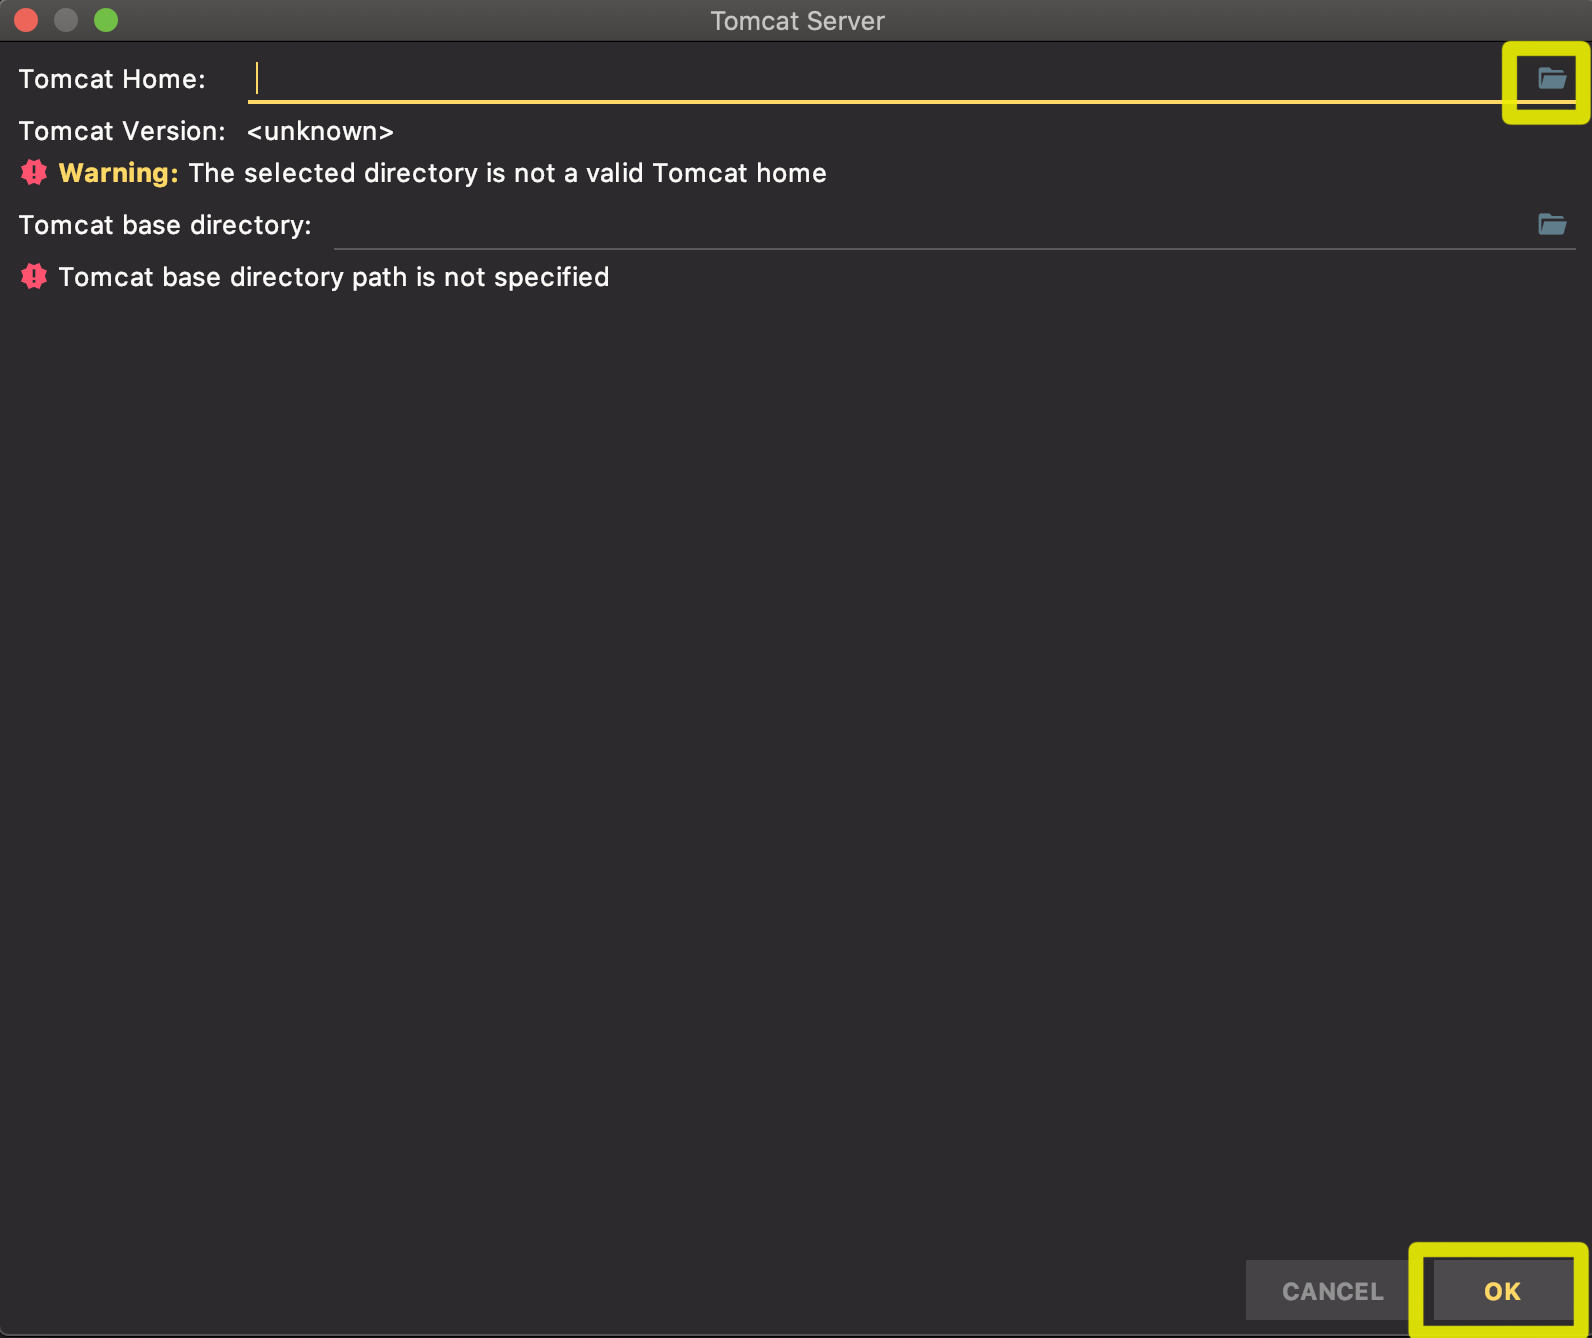
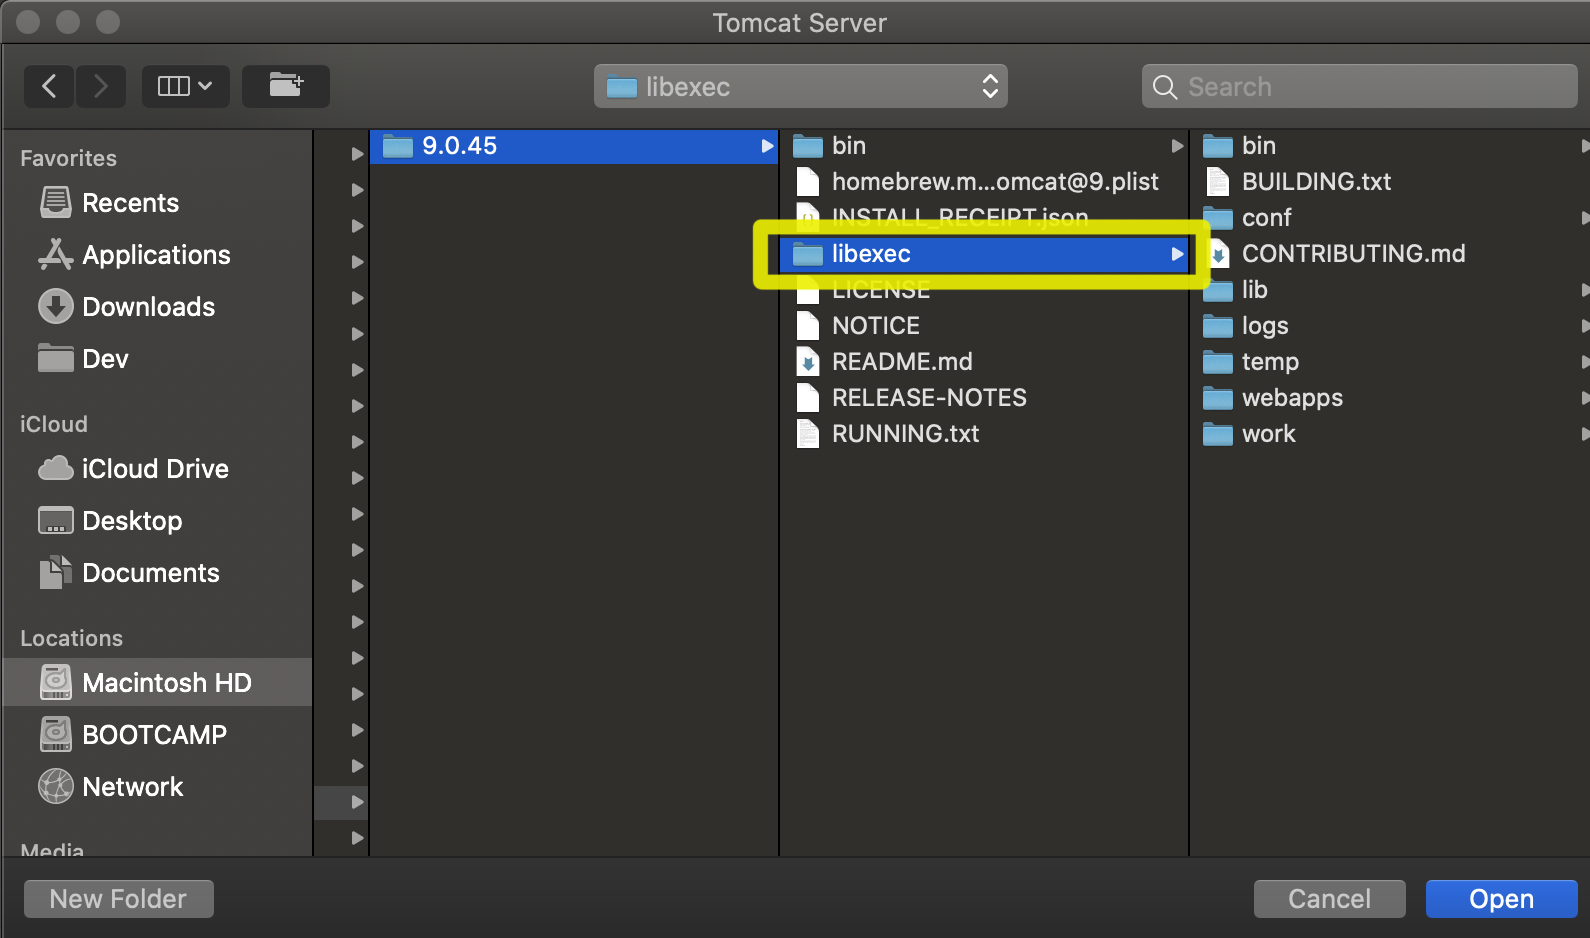
homebrew를 통해 tomcat9 설치 기준
usr -> local -> Cellar -> tomcat -> 9.0.45 > libexec “Open” 클릭
3. 톰캣 경로 확인
4. 톰캣 설정 확인 및 Fix 클릭
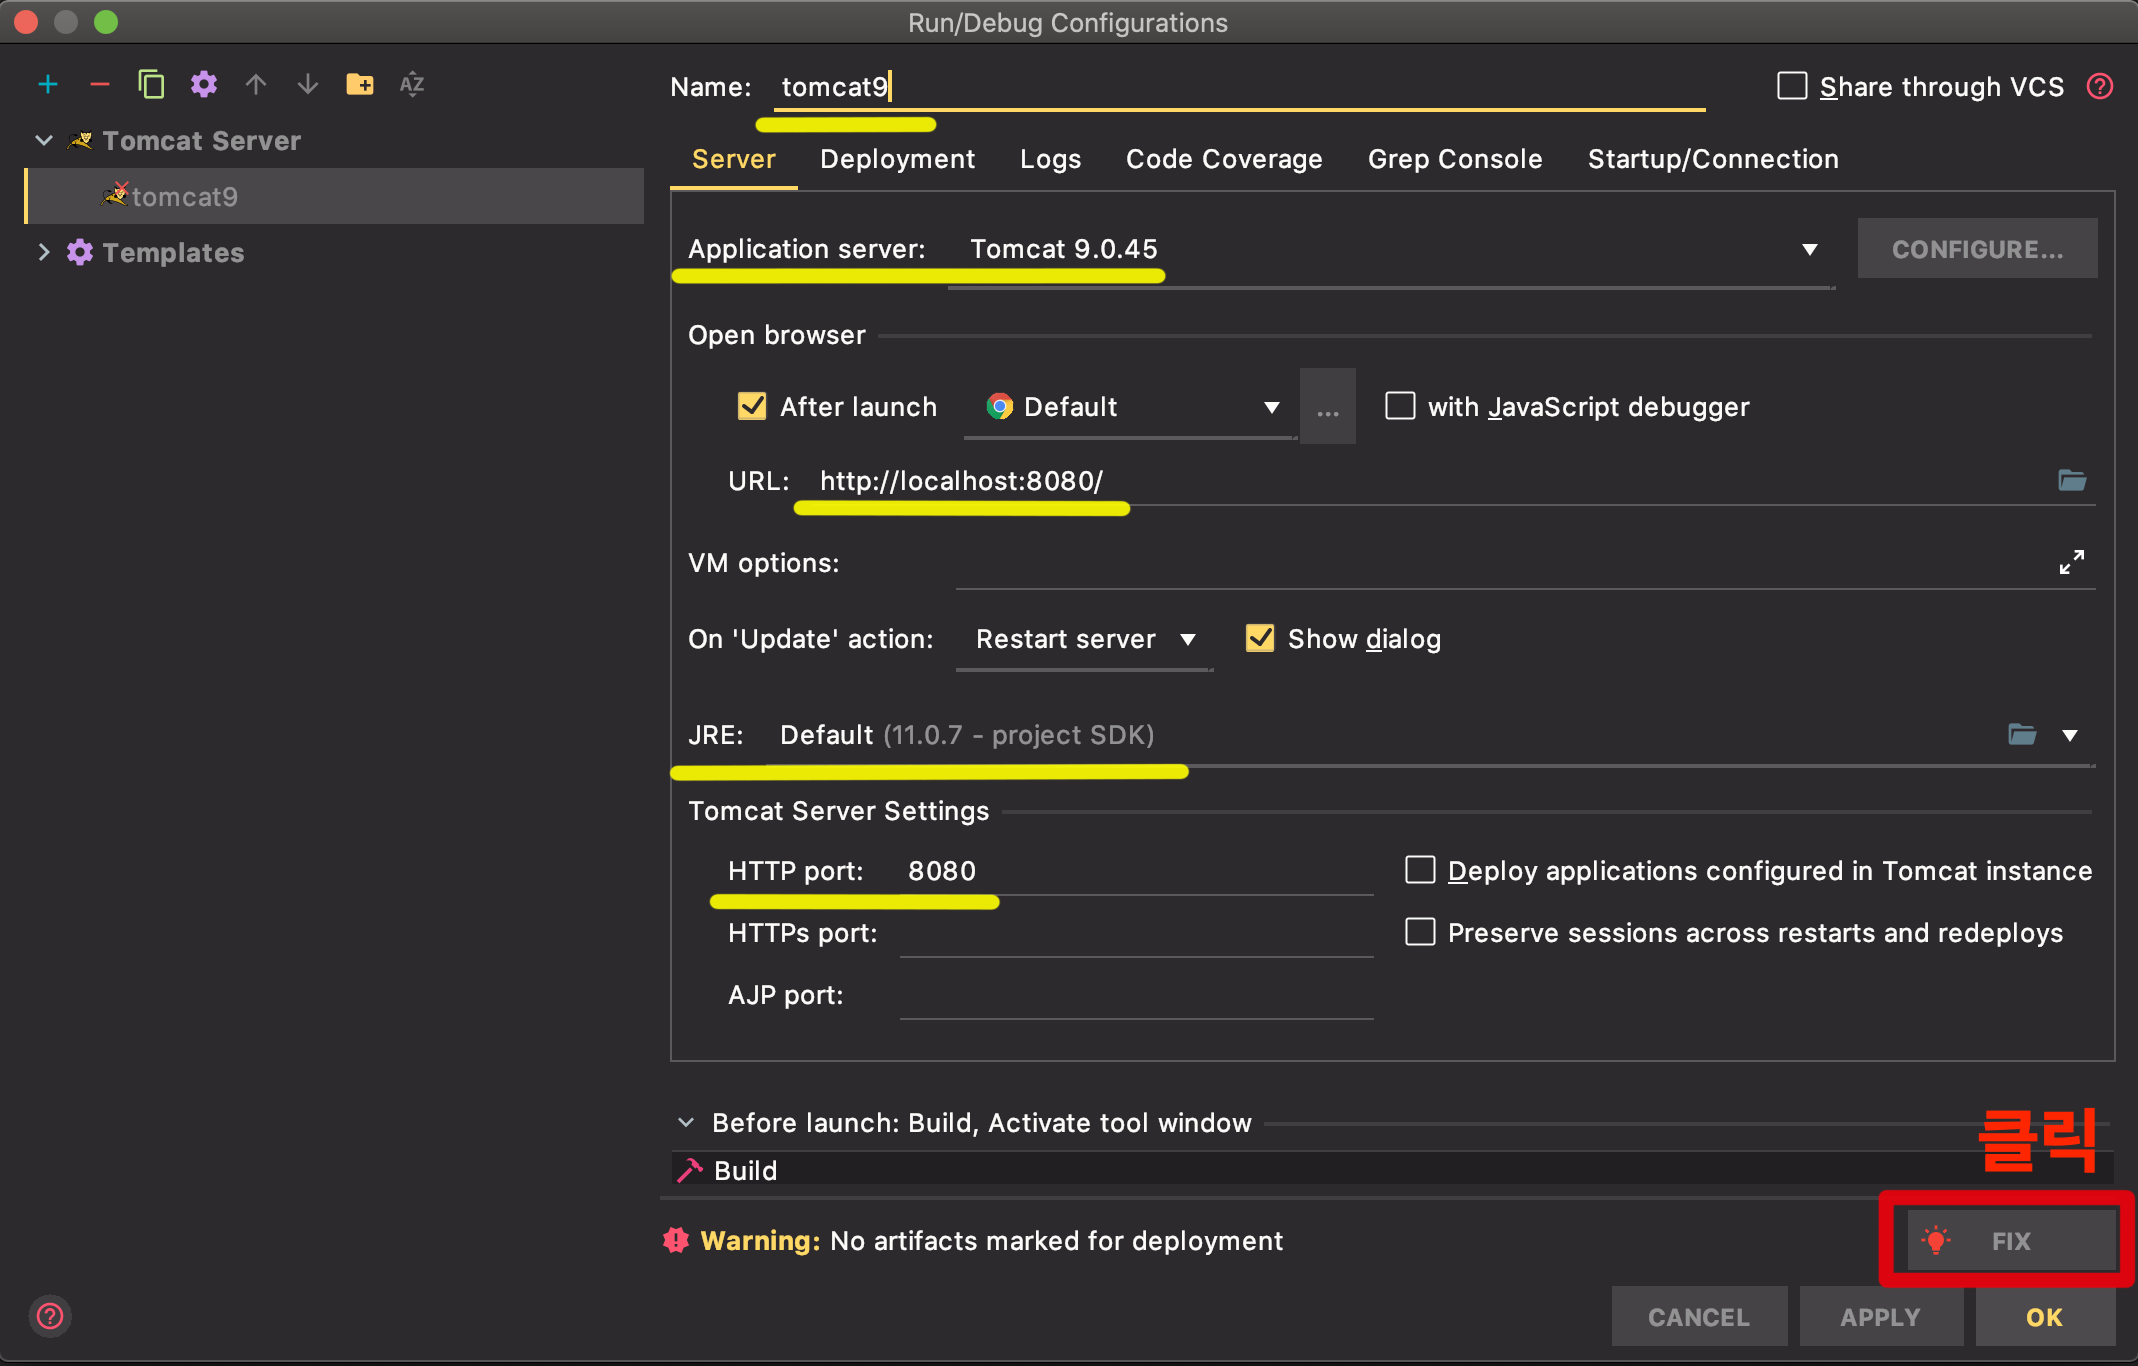
5. 톰캣 설정 확인 및 Fix 클릭
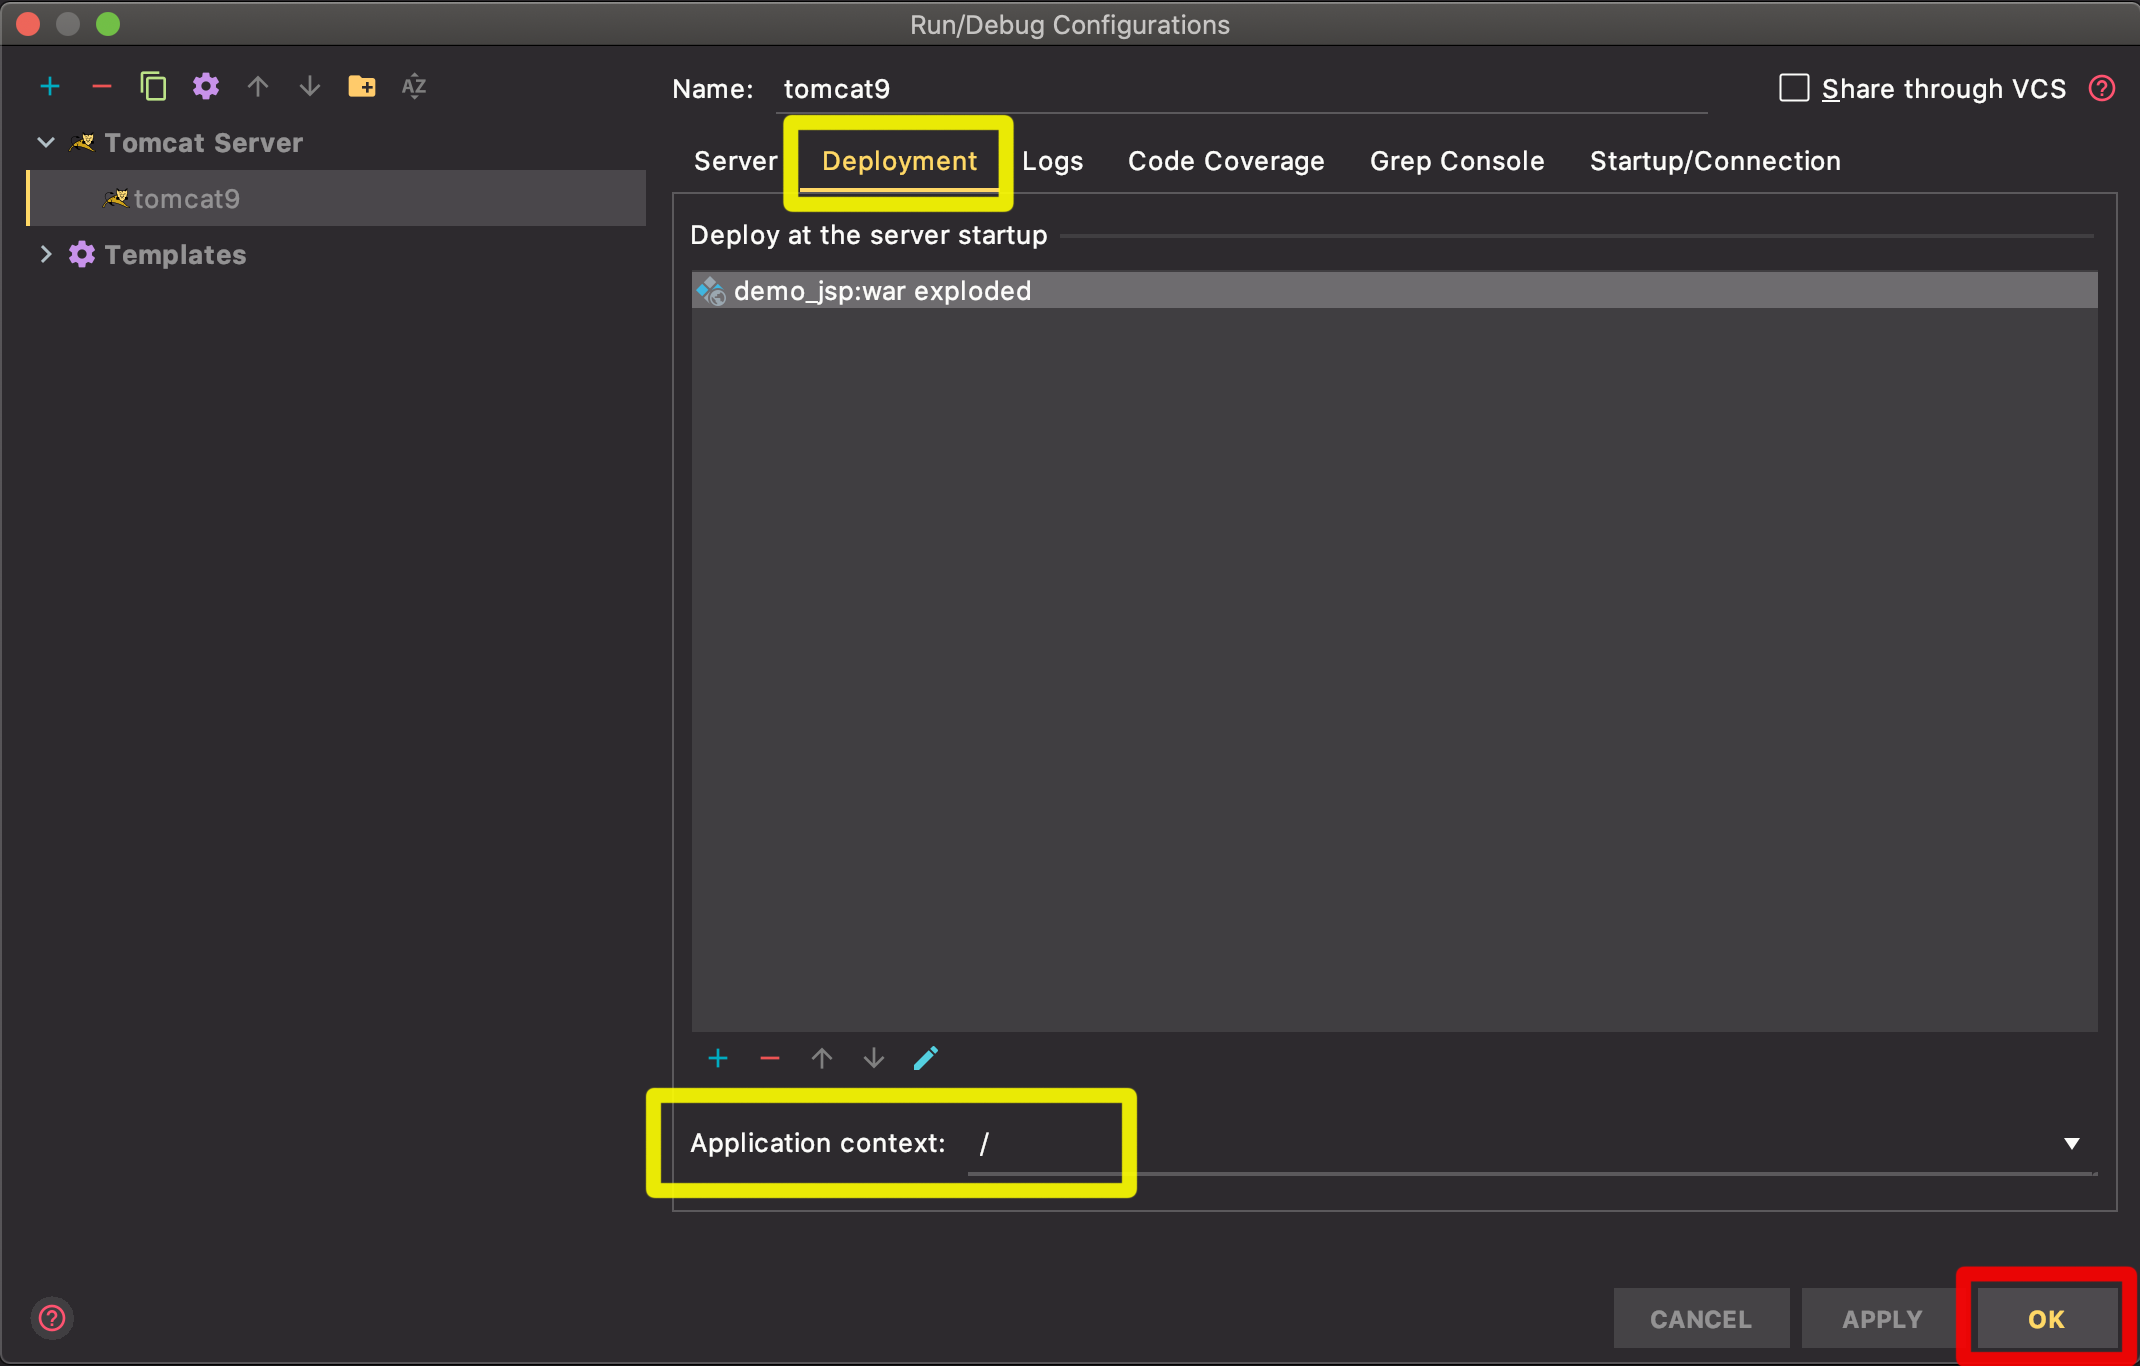
- Deployment 탭
- “Application context”를 “/”로 수정
이클립스에서 Server Root 변경하 듯이 app domain 기준으로 배포 및 url 설정이다.
예를 들어 test-shop.com/goods
6. 서버 구동
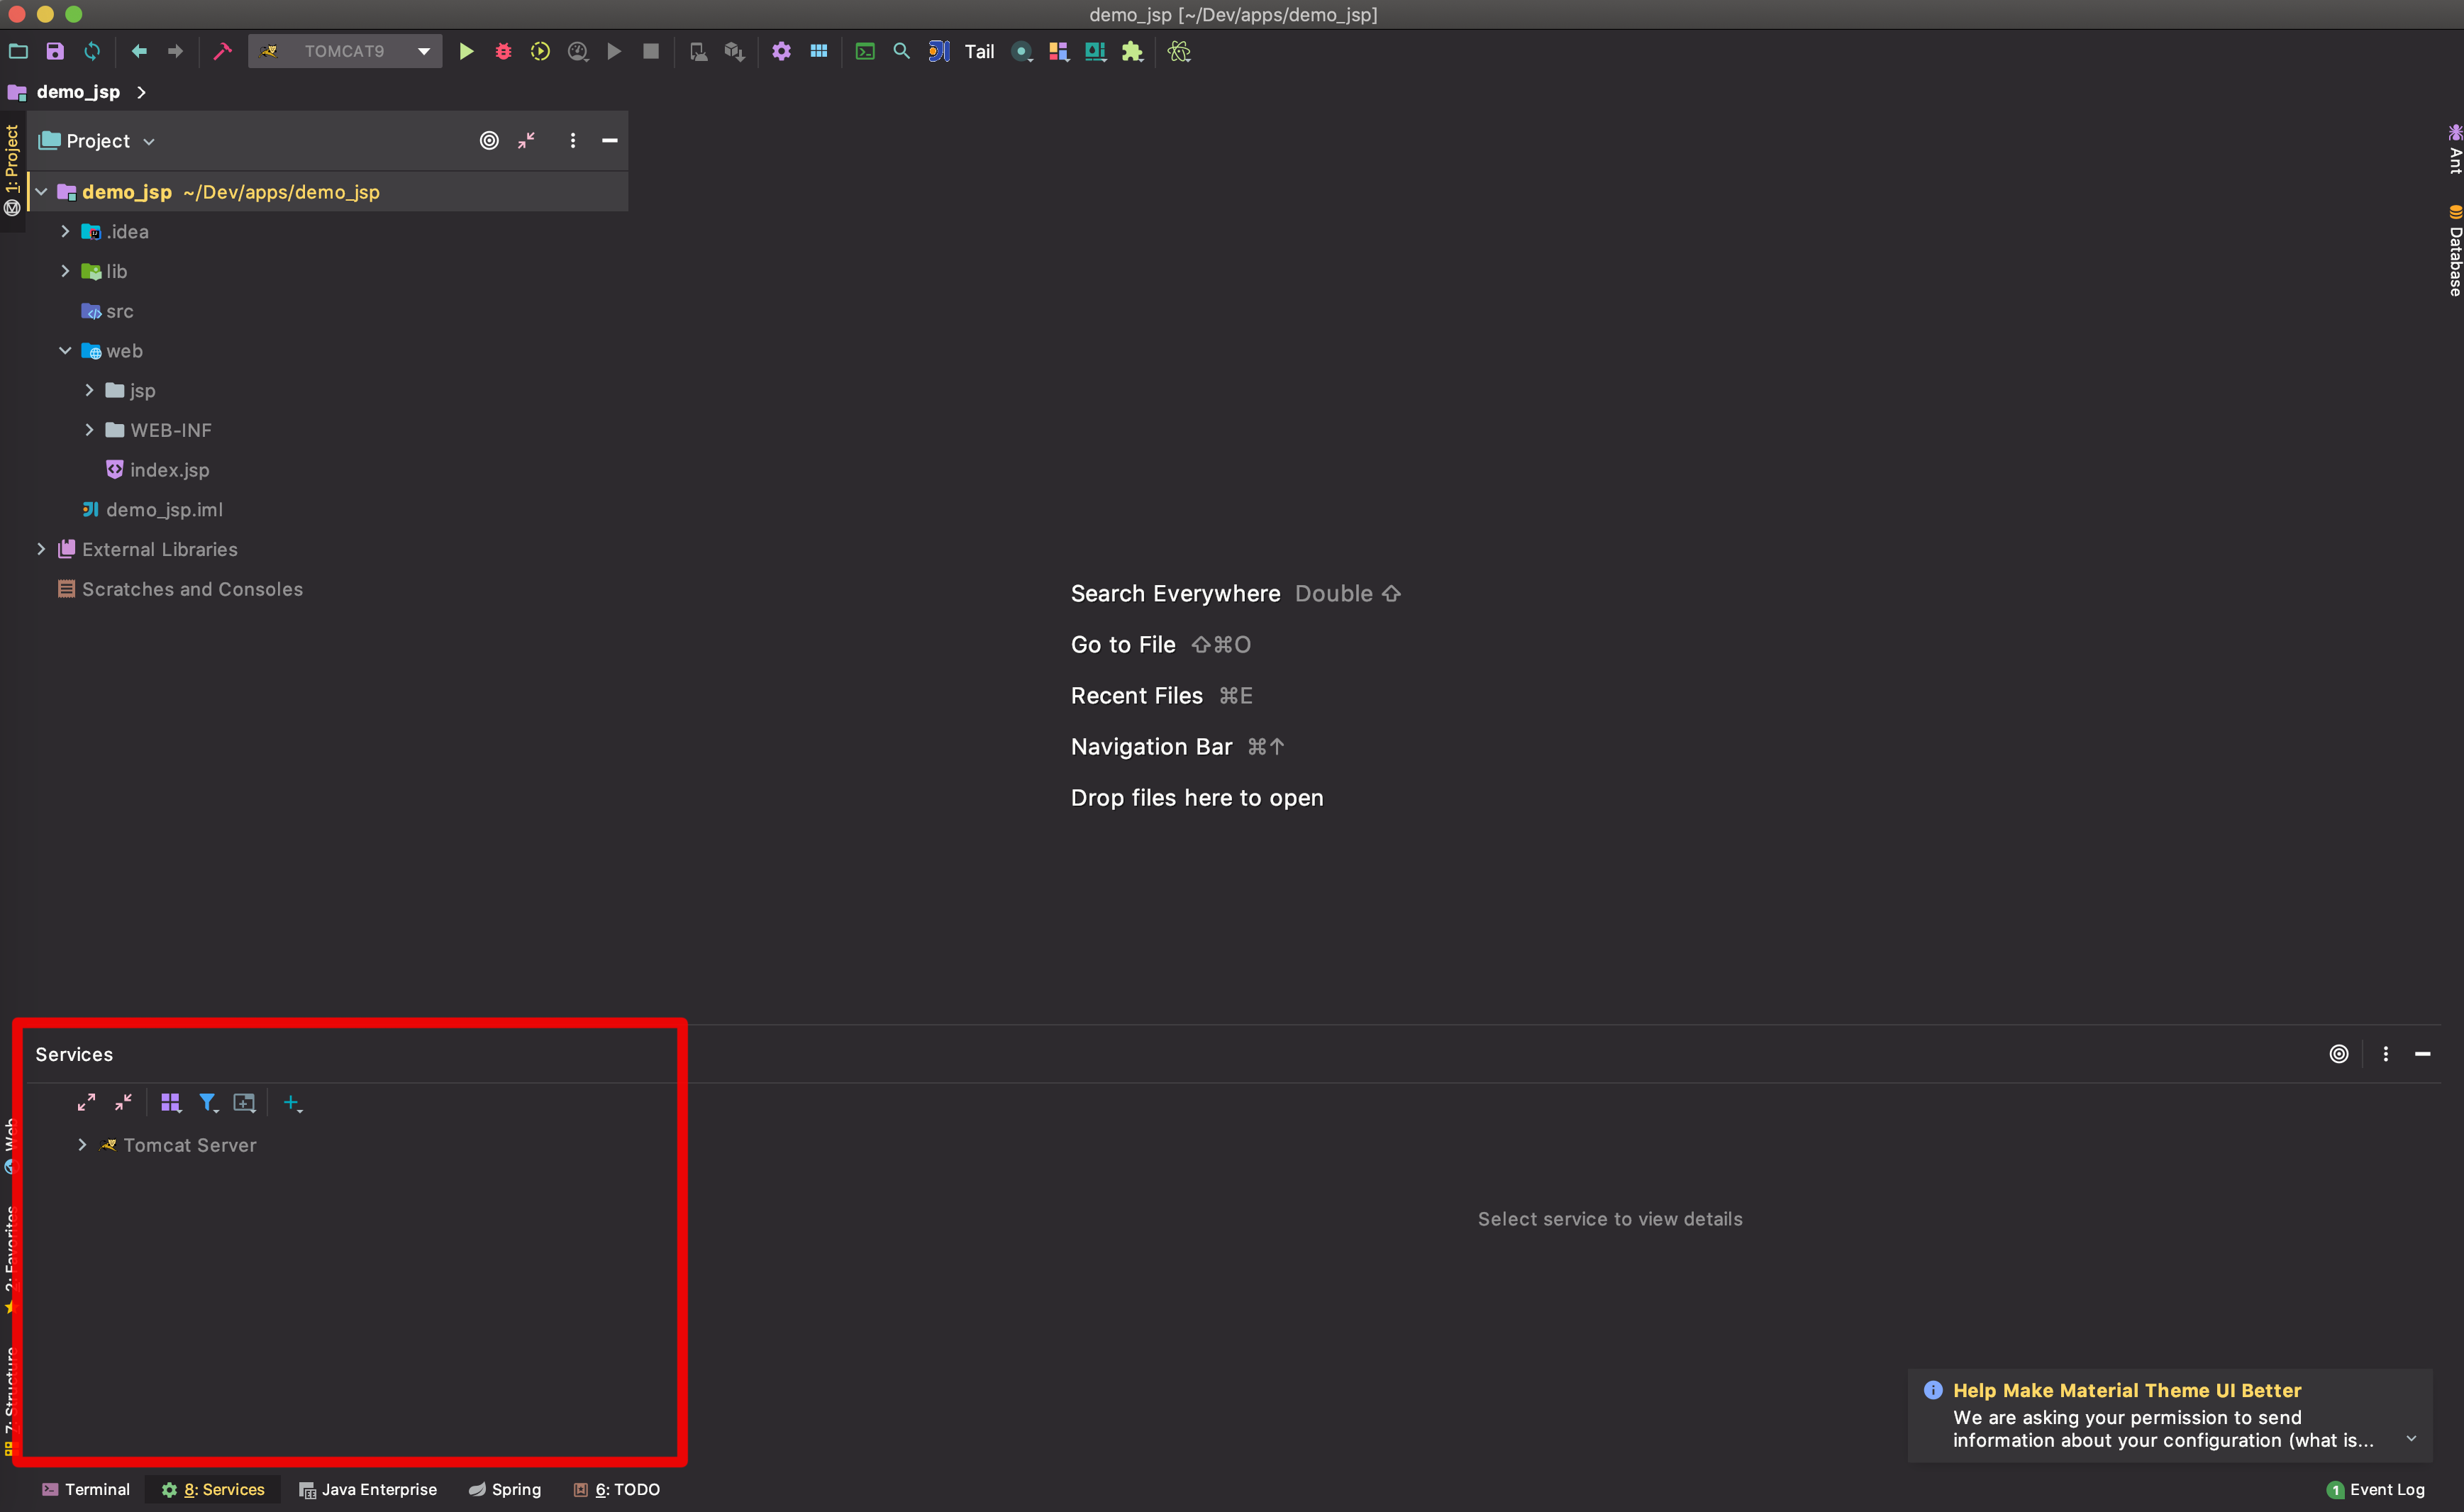
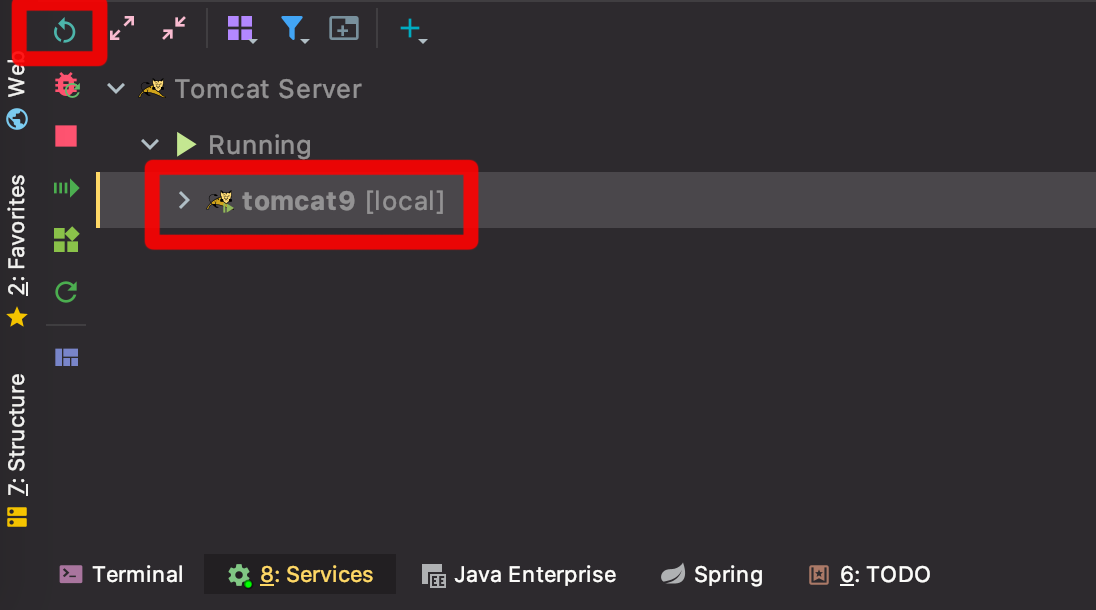
10. 로컬 서버 구동 확인
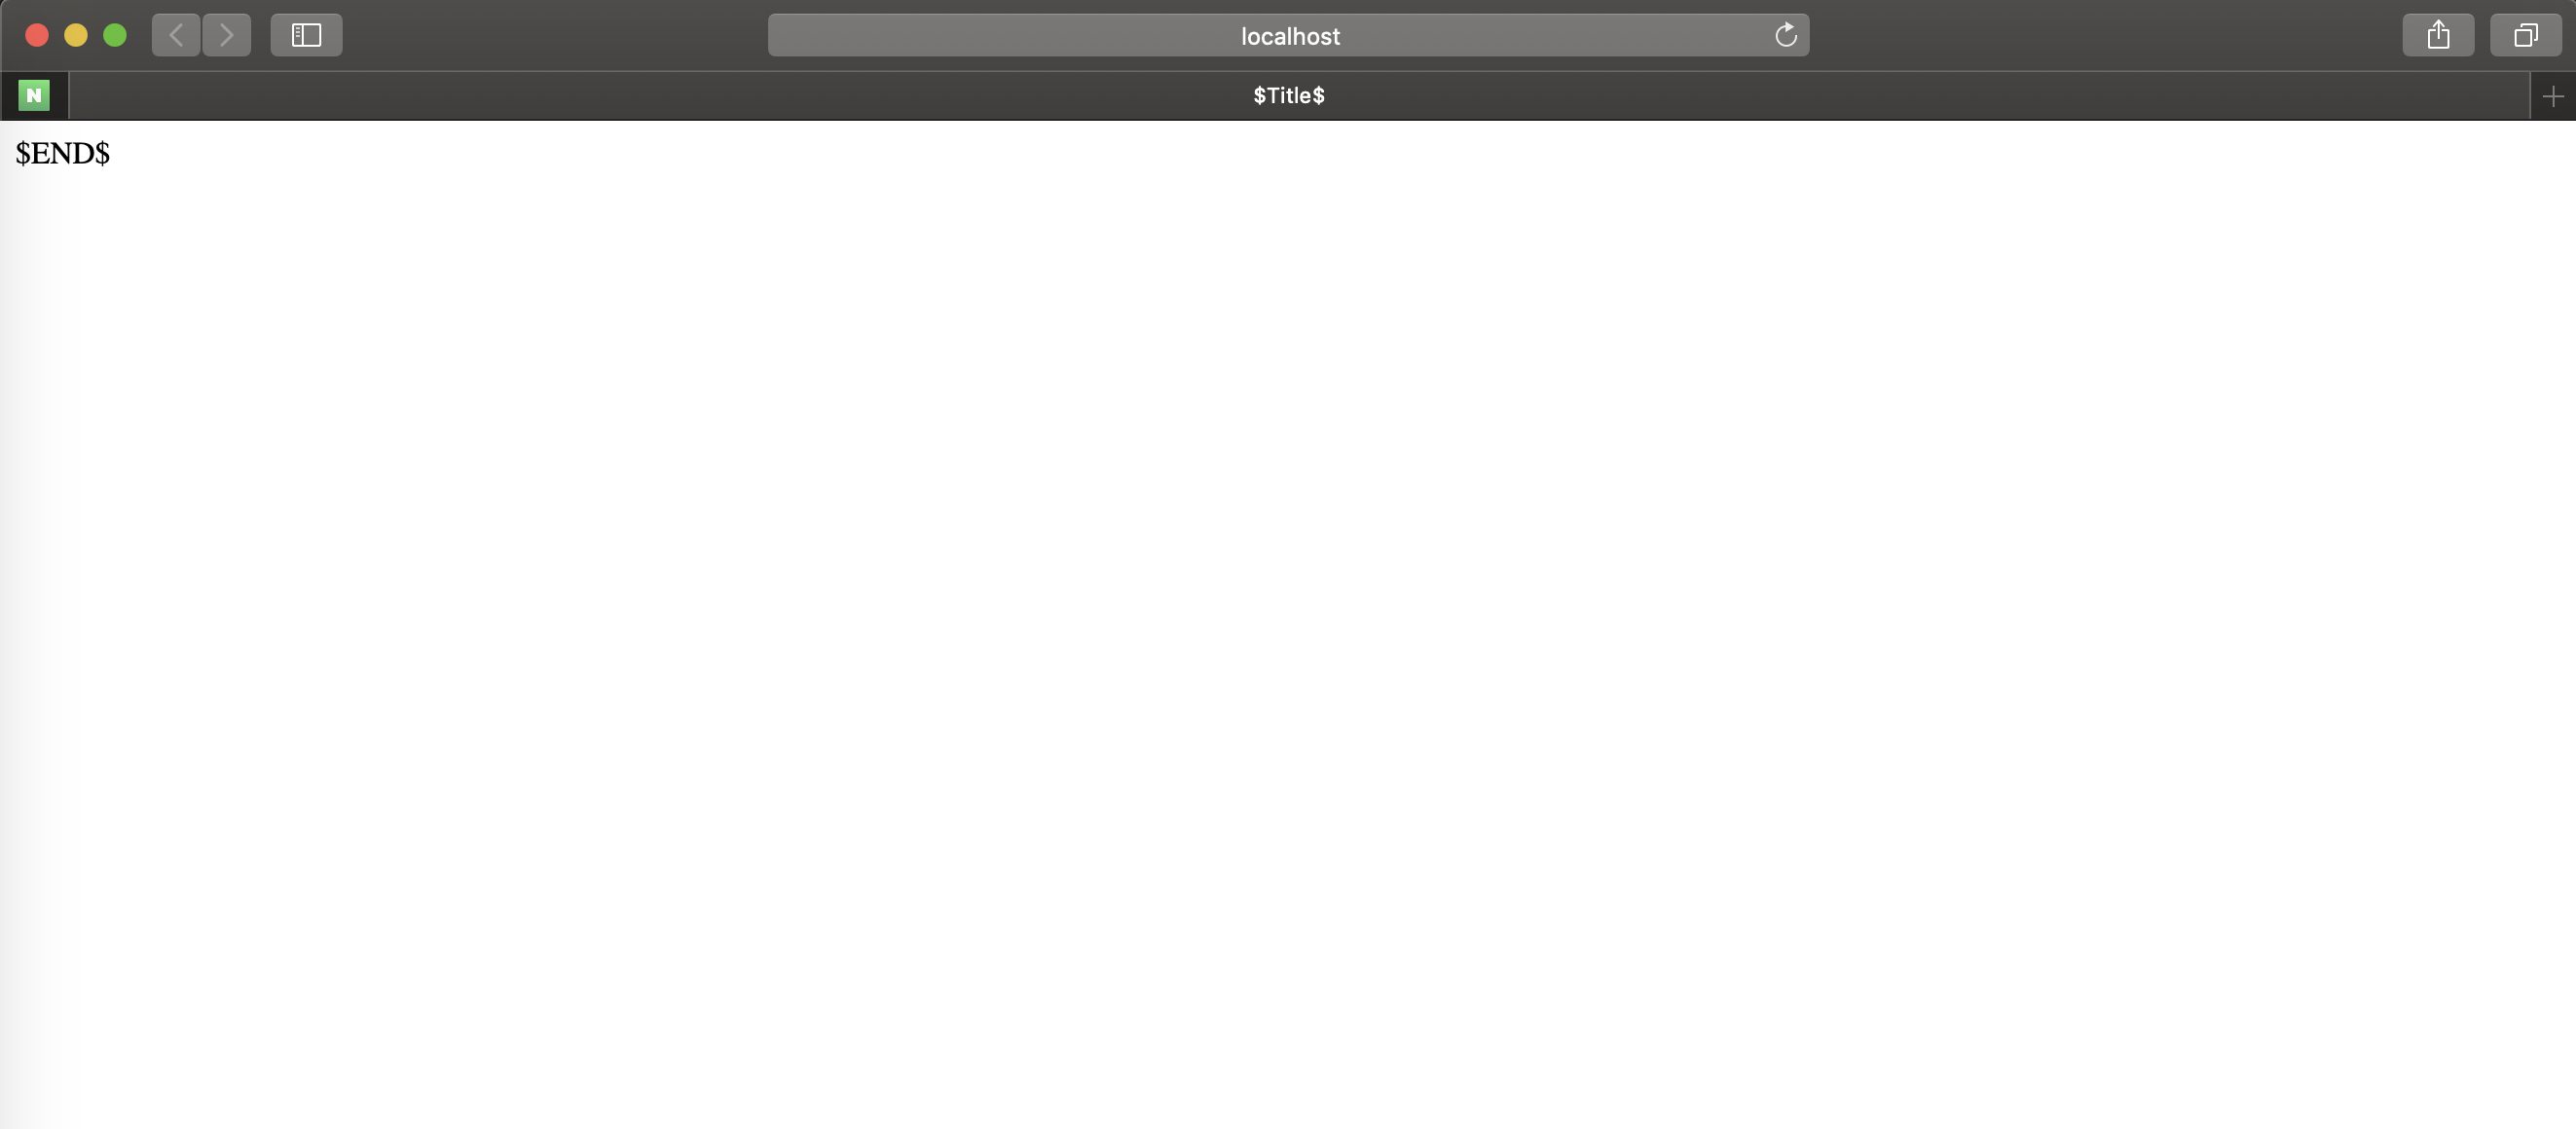
- localhost:8080 접속
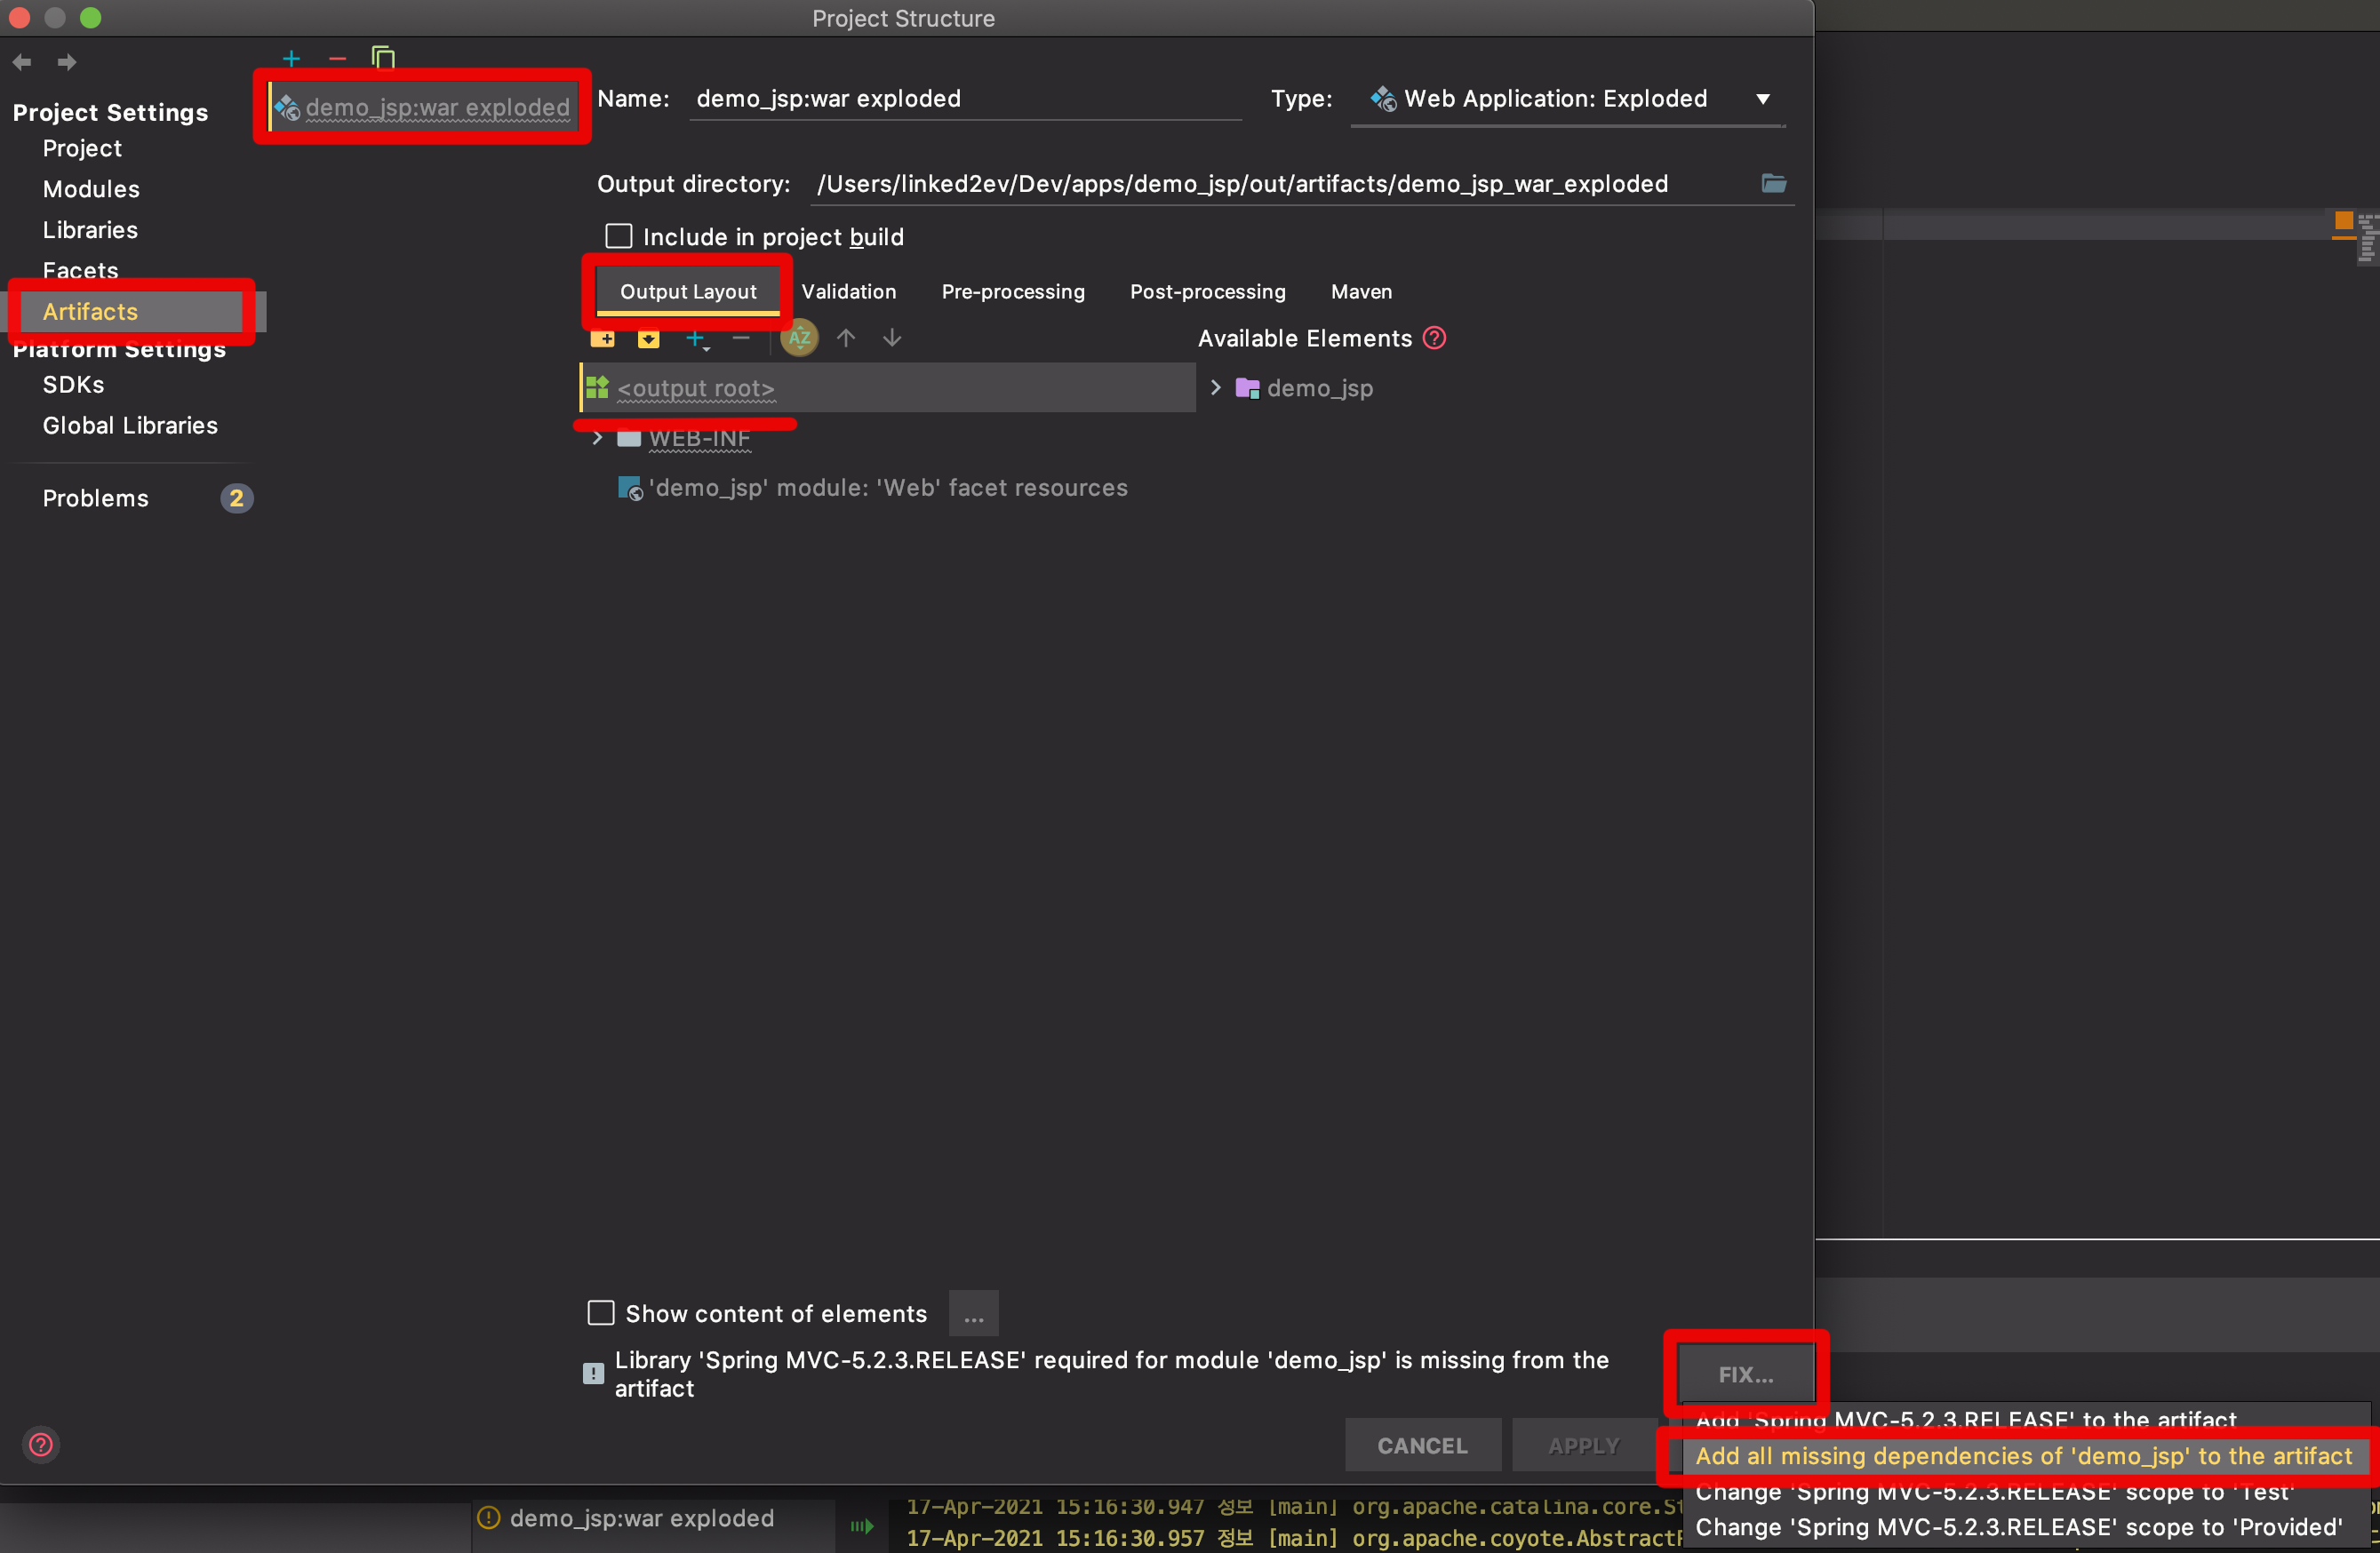
11. 서버 구동 시 Artifact 오류 발생시
console error log
Artifact demo_jsp:war exploded: Artifact is being deployed, please wait..
11-1. Artifats 설정
SpringMVC 프로젝트를 생성 후에 artifact에 라이브러리가 추가 설정
상단 메뉴 File > Project Structure 클릭
아래에 Fix 클릭 후에 Add all missing dependence… 클릭
[참고]
- https://goddaehee.tistory.com/247
- https://whitepaek.tistory.com/13